Spooky Tutorial ~ Kristen @ Dear Piper


I am SO excited about today's Spooky Tutorial. I love Kristen's Blog. She is so talented and creative. Not to mention she has a beautiful daughter named Piper. What I love about this tutorial is that even someone like me, who isn't the craftiest (okay at all crafty) can do this!
Trick or treat??
Hey There, I'm Kristen from Dear Piper and I'm so happy to be sharing in this little Monster bash!
Halloween is absolutely my favorite time of the year! This year is extra special... Piper gets to offically go trick or treating! YAY!
In honor of Piper being a witch for halloween, here's a little DIY trick or treat bag for your own little witch or spell caster!

What you'll need:
1 Plain shopping/gift bag. Color of your choice!
1 piece of scrapbook paper-at least the length of your bag.
Green and black felt.
glitter glue
halloween ribbon 1 or 2 options.
halloween themed confetti
hot glue gun or any craft glue
scissors
decorative scissors
I purchased everything I didn't already have(glue,glitter glue,felt,ribbon,paper) at my local Jo-ann fabrics for under $5 bucks!. Everything but the bags were on clearance! Go me!
I picked out these papers at the craft store and decided to use my halloween themed paper for the witch legs!
Trick or treat??
Hey There, I'm Kristen from Dear Piper and I'm so happy to be sharing in this little Monster bash!
Halloween is absolutely my favorite time of the year! This year is extra special... Piper gets to offically go trick or treating! YAY!
In honor of Piper being a witch for halloween, here's a little DIY trick or treat bag for your own little witch or spell caster!
What you'll need:
1 Plain shopping/gift bag. Color of your choice!
1 piece of scrapbook paper-at least the length of your bag.
Green and black felt.
glitter glue
halloween ribbon 1 or 2 options.
halloween themed confetti
hot glue gun or any craft glue
scissors
decorative scissors
I purchased everything I didn't already have(glue,glitter glue,felt,ribbon,paper) at my local Jo-ann fabrics for under $5 bucks!. Everything but the bags were on clearance! Go me!
I picked out these papers at the craft store and decided to use my halloween themed paper for the witch legs!

Cut 2 stipes off your sheet of paper. Make sure they are at least 2-3 inches wide and at least the length of the entire bag.

Then take your stripes and decorative "wavy"scissors to give them a fancy edge and trim off a little stripe like I've shown above. You don't need to make them wavy, it's all about your preference. So don't worry if you don't have those particular scissors.
Now we need to make some felt boots.
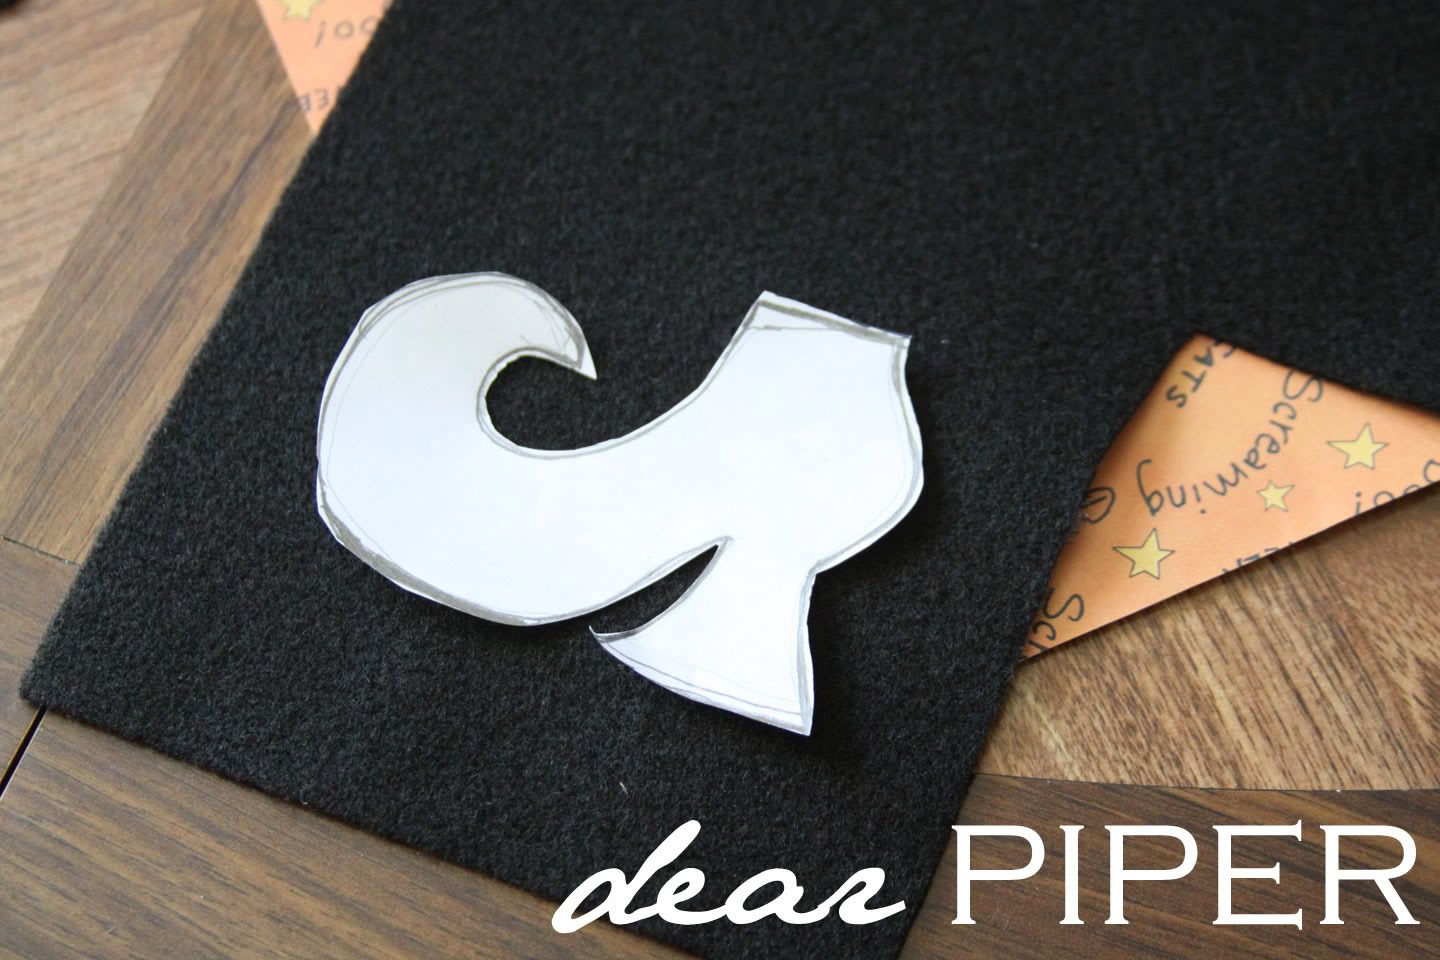
I had to draw a boot because I couldn't find a stencil or shape anywhere to trace. Feel free to blog up this image and trace my boots to help you out!
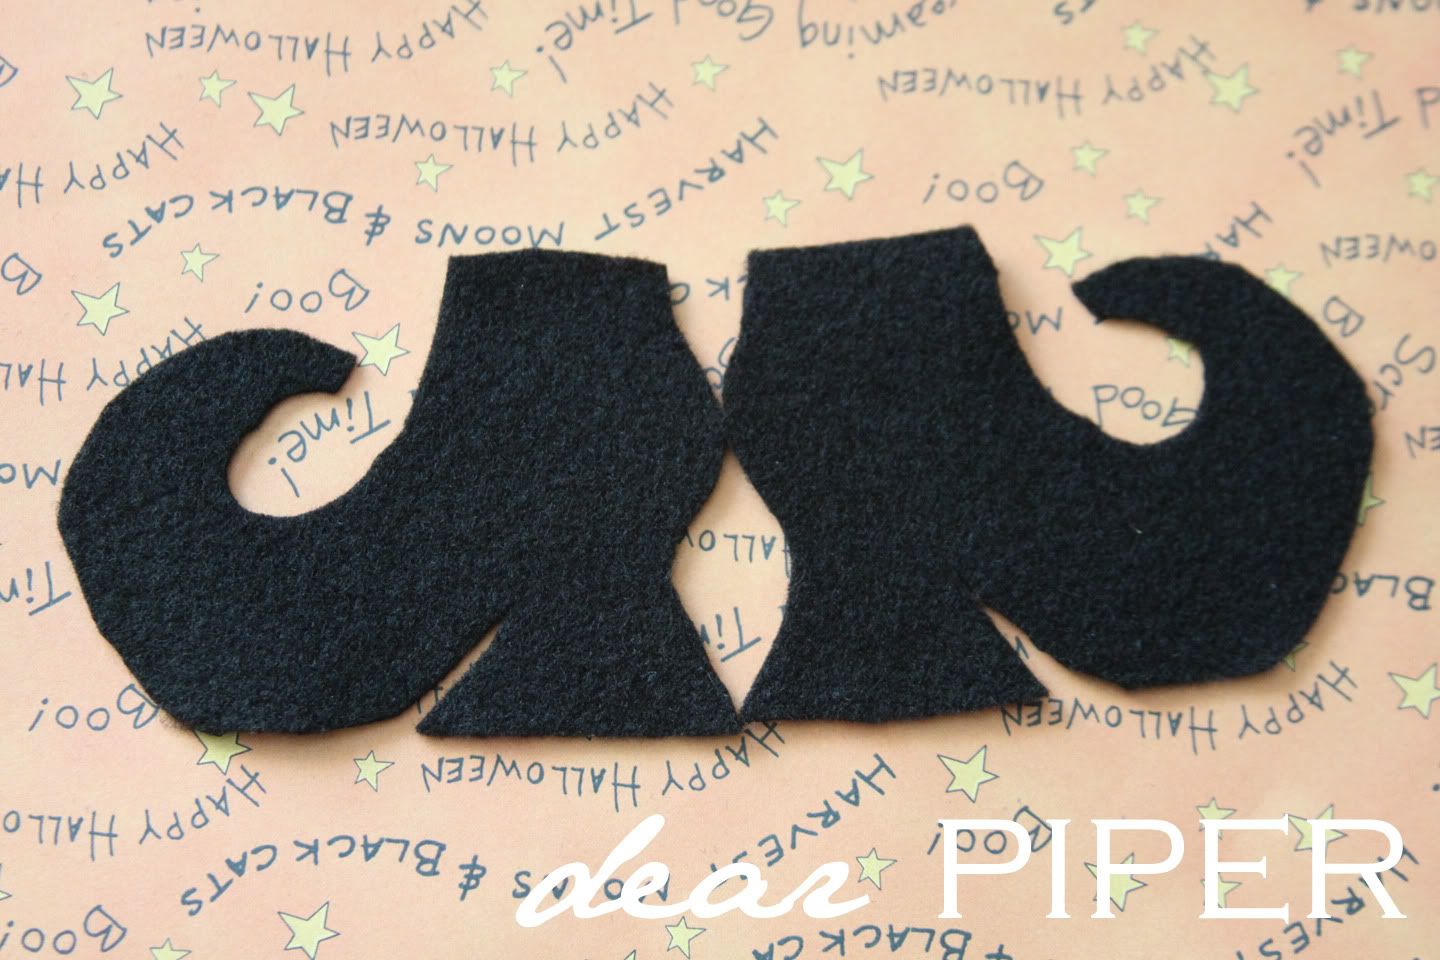
Cut each boot out and cut a skirt out of your left over felt material. Before you start glueing your peices, make sure your legs are not wider than the top of your boots. If they are just take your fancy scissor and trim til they fit well under the boot.
Lay your boots on yor bag to measure where to cut your legs, and take out any excess paper on the top before you start glueing!
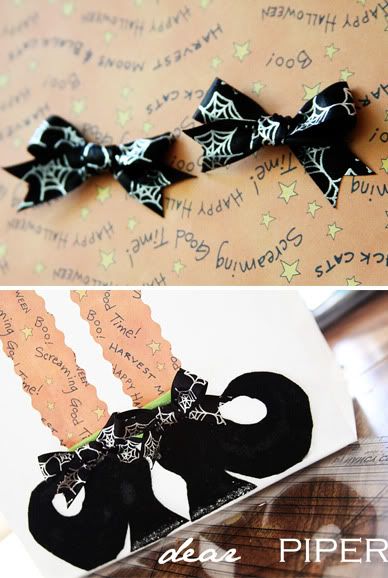
Now start glueing your peices to your bag. Legs first. Marking your bag with a pencil is a big help in positioning your pieces.
Once your legs are glued on, glue the boots and skirt on. Cut little pieces of extra felt (green) to make the boot buckle, and make some bows to embelish the boots some more!
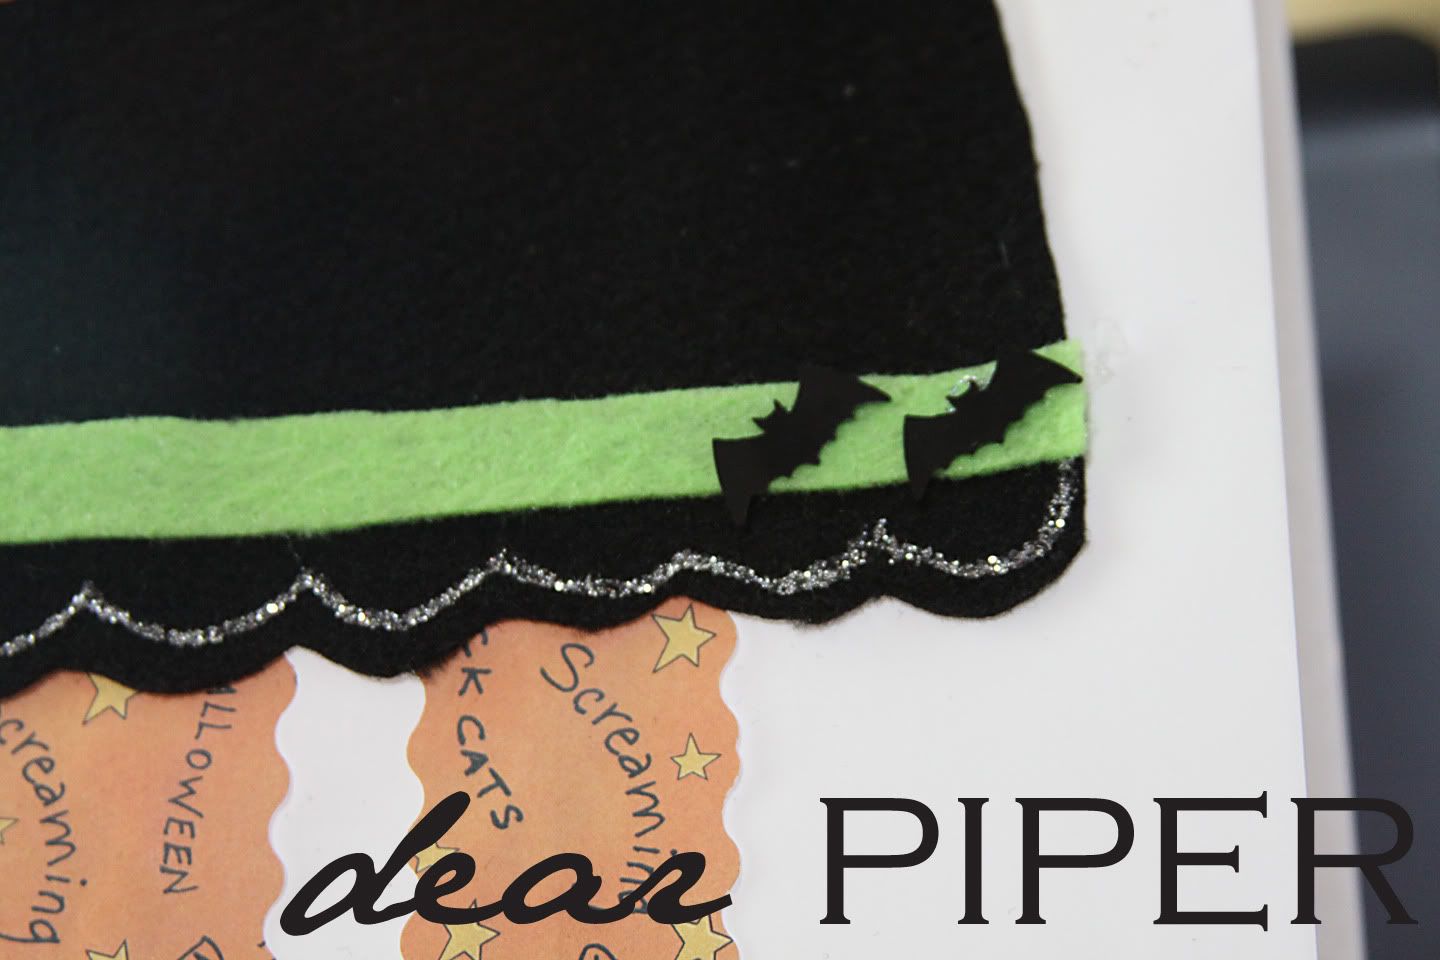
Now let's embelish the rest of your bag.
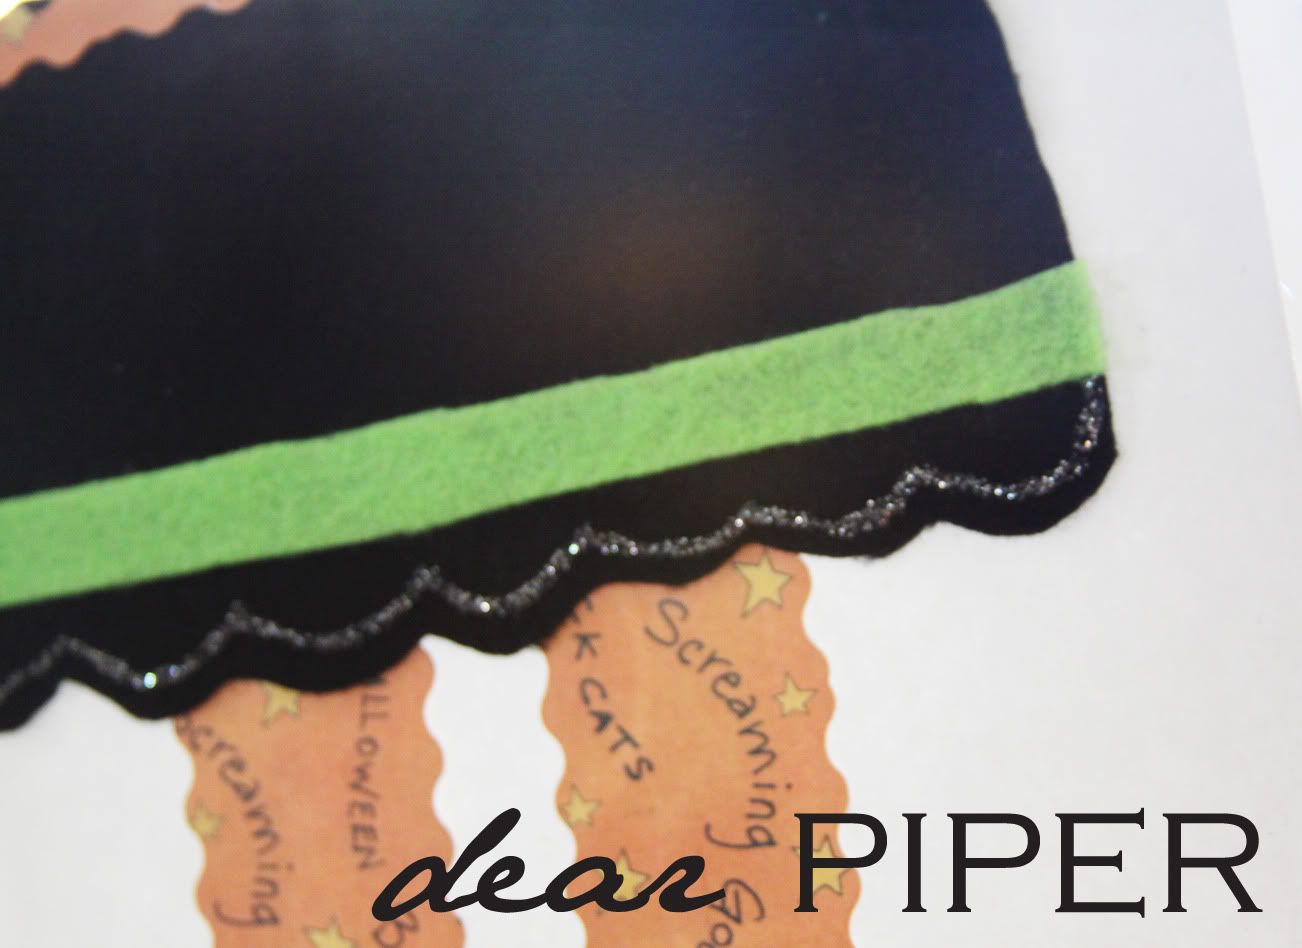
I cut another stripe of green felt for the skirt, added some confetti bats and a thin squiggle of silver glitter glue to embelish the skirt a little bit more.
Now that we're almost done, take your extra peices of scrap paper, the wavy stripes, and glue them to the top of both the back and witch side of your bag.
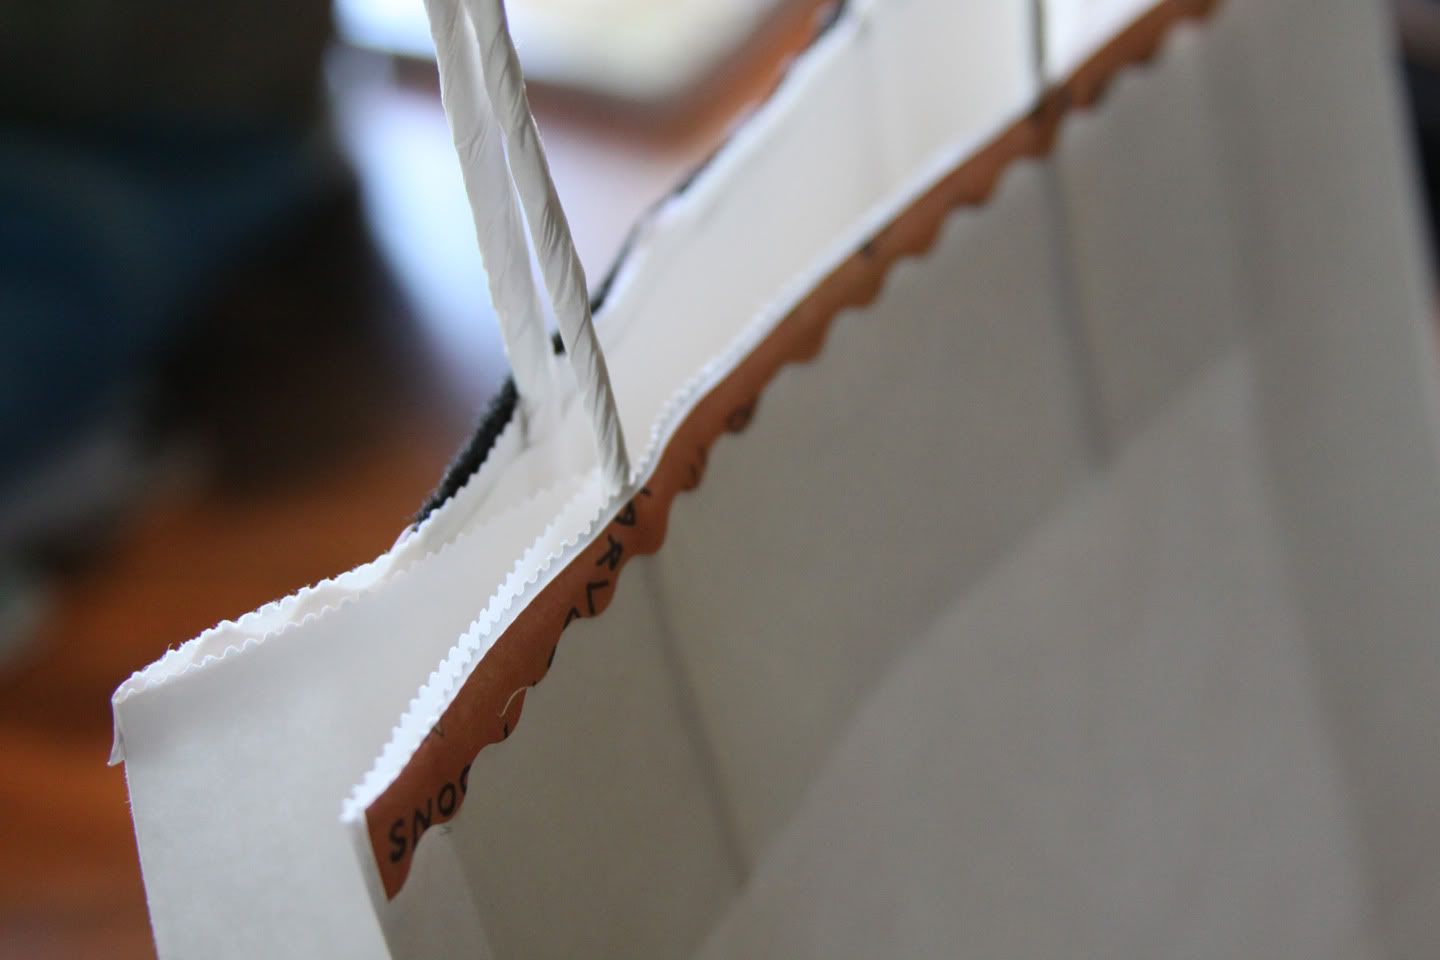
Get your ribbon out! Knot one end of your ribbon and start wrapping the rest along your handle.
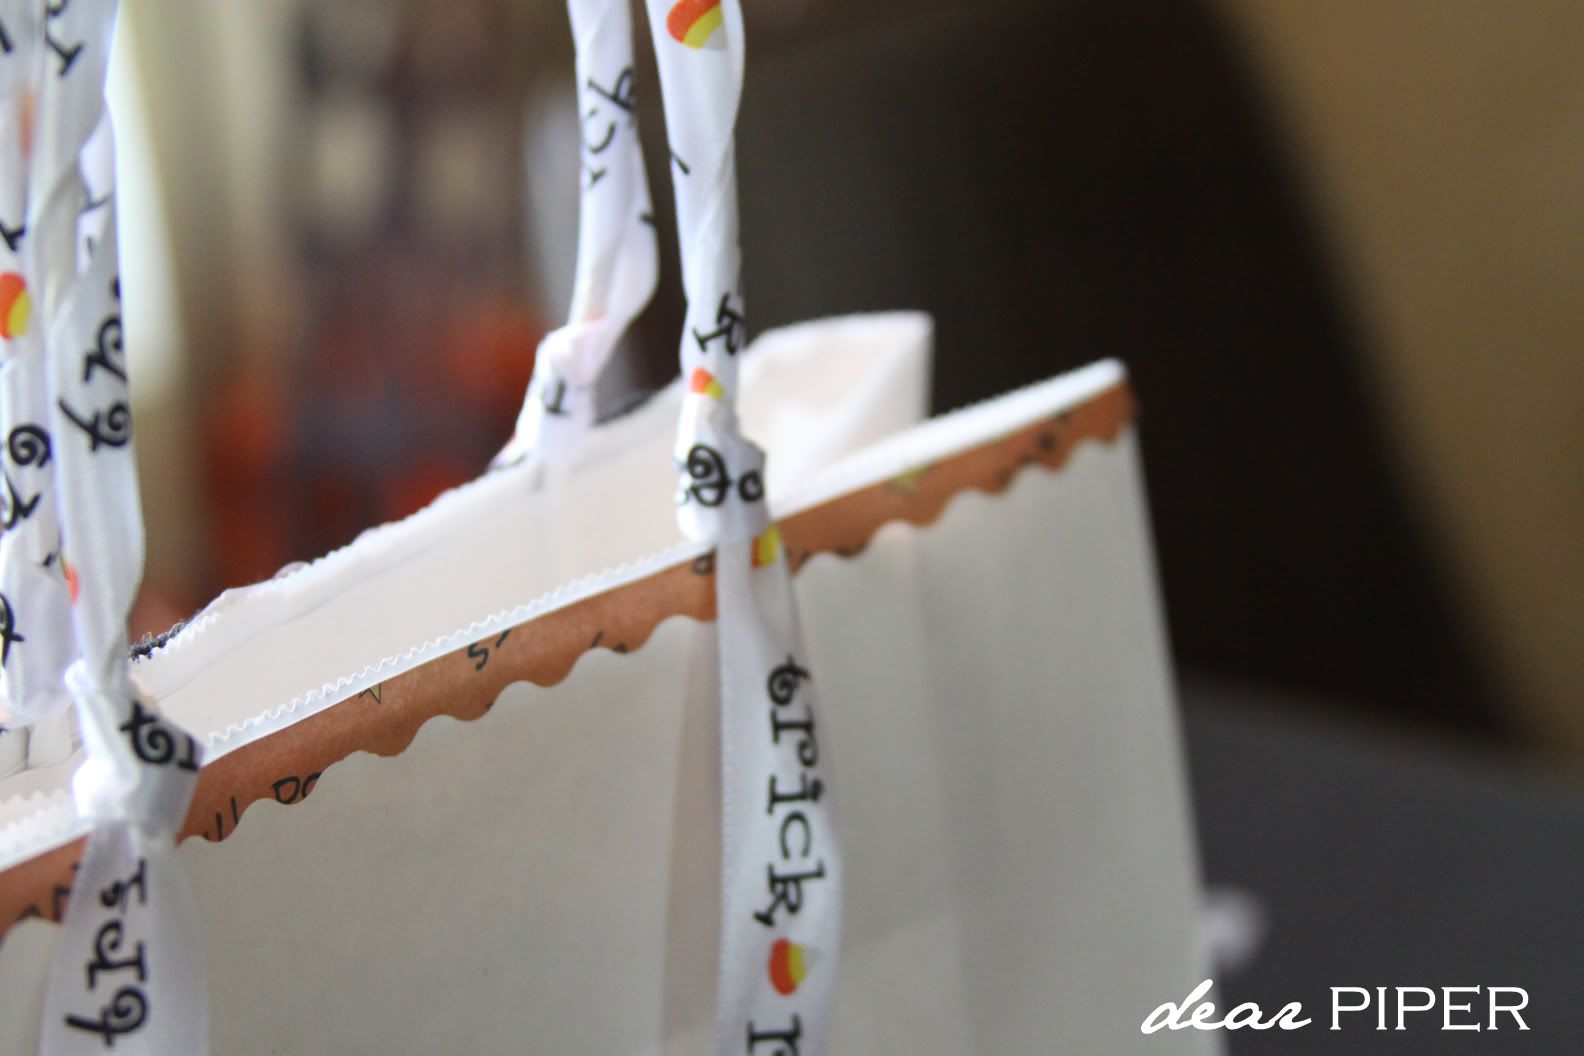
& repeat on the other side of your bag.
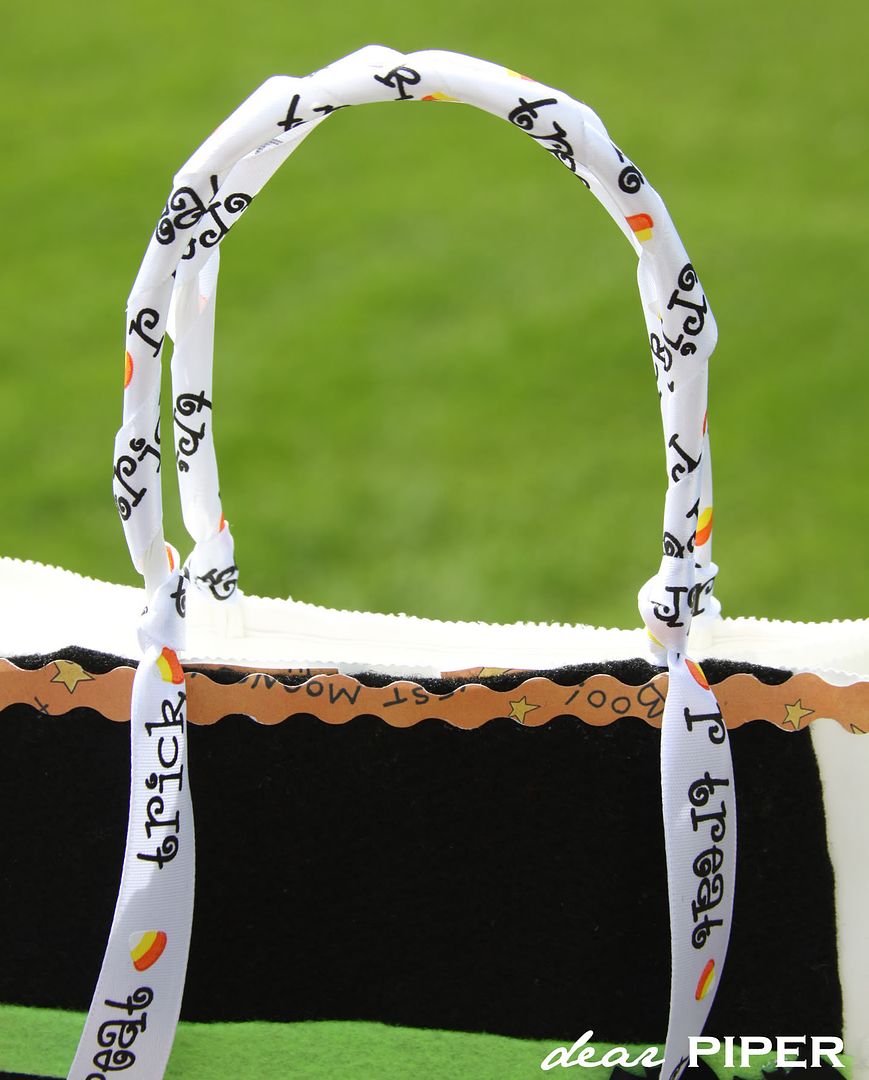
And Voila!
You're little one is going to have one of the best trick or treat bags in the street this year!
Stop by and Check out more "Spooky" tutorials for Halloween Next month over at Dear Piper.
Or just say BOO!!!
See! I told you that was a Spooky Tutorial you would love. Head over now to Dear Piper and let Kristen know you are coming from Family and Life in Las Vegas for 4 extra entries into the giveaway of your choice.
Just comment with "I Haunted Kristen's Blog with a spooky comment" on the giveaway of choice. (4 separate comments)
(Divide them up, use them all for one giveaway, it is your call!!)
Also don't forget - 2 entries per day per vote on both Top Mommy Blogs and Picket Fences!!
And keep your eye's peeled - I will be handing out extra entries EVERYDAY. On Twitter, On The Blog. You won't want to miss your extra chance to win some of your favorite giveaways.
Happy Haunting!
Don't forget to enter some of the 20 Giveaways that are going on until October 9th before you leave. See the Side Bar for links to each Giveaway!!
Labels: Mommy's Lil Monster Bash, Tutorial
posted by Emily - faliLV @ 8:00 AM
5 Comments
![]()

5 Comments:
Thank you for this tutorial!!! I've been thinking of where to get or make a cute trick or treat bag for Little Rocker, but bed rest sort of messed up my plans. Now I can send my hubby out for supplies and make it right here at home!
Seriously, that is so flipping cute!!!
Such a cute bag, I love it!
Have a wonderful weekend! I'm following you from Being Frugal & Making It Work
Cheers!
I LOVE this! So adorable! Thank you so much for sharing.
Melissa
http://thechroniclesofarookiemom.blogspot.com/
That is awesome!! Following you from www.dixiedivadeals I have been following you so you may already be following me too - just wanted to let you know how much i like your blog!
Bridget
Post a Comment
Subscribe to Post Comments [Atom]
<< Home