Monday, December 27, 2010

Recycled Christmas Cards Placemats ~ Green So Easy


I keep all the Christmas Cards we get every year. I keep the photo ones, and the regular ones.

This year I noticed my stash of cards was getting a little thick, so I decided we should make a craft from them.


Since I was going to be hosting a Christmas Dinner, doing place mats seemed like a perfect idea!!
I hope you enjoy Squish's Recycled Christmas Card Place Mats!


We started with some Recycled paper. I bought a big roll of it. I plan on using it for all of our wrapping and crafting needs.

I laid it our on our floor, and taped the ends down. I then laid out some colored paper.


I cut some shapes using Christmas Cookies and Sponges. I actually will probably use thicker sponges next time, but in a pinch this worked okay.


I made sure I had a bath ready to go. (We were painting right outside the bathroom too so I was sure to contain the paint to one main area.)

I then stripped the Squish down to his diaper. In the future I will either use a disposable for the craft, or if I am not going to take pictures, I may just let him go at it sans clothing.


I released the Squish, and let him go to town. I got in on the fun too, and we had a blast. The paint was washable and non-toxic.

If you are going to do this project with a child as young as mine, I say embrace the mess and just have fun!


After a bath and a day to let the paper dry, I folded the brown paper in half, and cut it into 3 segments. I then cut those segments in half using the fold as my guide.

The nice thing about this project is it really is a kids project, so perfection isn't needed!


I selected 6 cards from our stash to use for the place mats, cut some ribbon, and glued them on.

I took them to a Office Supply Store, and trimmed them down, then had them laminated in an 11x17 sheet.


I am pretty happy with how they turned out!


I know my guests and family also enjoyed them. I love how you can see Squishy's footprints on them too! Fun times!!

We can use these for years to come. And as we have more children, we can add to our collection of Recycled Christmas Card Place Mats!

Thanks for reading my Recycled tutorial. Green so easy, even a Toddler can do it!

This week I am joining in Skip to My Lou's Made by You Mondays. It is my first time linking up, but I hope it isn't my last!


Labels: , , , , , , ,

Saturday, November 27, 2010

Toddler Wonderland Tutorial ~ Nikki @ The Perils of a Working Mom


Are you ready for a fun craft to do with your toddler?

Nikki from The Perils of a Working Mom has a fun craft to do with your little one! It's super easy and inexpensive too!


Craft time can be a fun way to spend a cold winter day with your toddler. However, if you choose and activity that is too difficult or requires too much adult participation, your toddler is likely to get bored or frustrated very quickly.


Crafts for toddlers are usually best if they don’t have a lot of specific steps or a lot of wait time. No doubt, if you have a toddler, you’ve noticed that they don’t have a lot of patience, so having to wait for paint to dry to move on to the next step may cause a melt down, and I’m not talking about a hot glue melt down!


Basic art activities, such as finger painting are usually a fun activity for toddlers because they are usually very much into tactile experiences at this age. (Have a paint brush handy, just incase you have one of those toddlers that doesn’t like to get dirty!) Spreading glue onto paper and sticking items (foam shapes etc.) is a good activity that also helps to develop fine motor skills. And of course, the old stand by of coloring is always a hit if you aren’t into anything more involved!


Your child’s masterpieces from any of these activities make great gifts for grandparents and other relatives. Put a piece of artwork in a frame with a photo in one corner and it is something that grandma will cherish forever. Painting and colorings can also be cut into smaller holiday shapes and used to make holiday greeting cards.


Here is an easy craft; that anyone, of any crafting ability can easily do with a toddler. Most of the items required you may already have at home, if not, a quick trip to your local dollar store and you will be set!


Holiday Sun Catcher


This craft can be modified for ANY holiday, celebration or theme that you desire.


Materials:


Cardstock or construction paper


Colored tissue paper or other type of semi transparent paper, cut or torn into small pieces


Glitter (optional)


Clear contact paper


Scissors, pencil


Adult Preparation:


1) Draw a simple holiday shape in the middle piece of paper.


2) From the center of your paper, cut out the shape, leaving the outside of the paper intact to form the frame of your sun catcher.


3) Cut 2 pieces of contact paper, each slightly smaller than your paper.


4) Remove backing from contact paper and adhere to one side of paper.


** If you aren’t ready for your child to do the craft right away, reapply the contact paper’s backing sheet to protect it until you are ready.


This is what your prepared Sun Catcher should look like. (With backing paper in place)


Directions for Child


1) Give the prepared sun catcher to your toddler. Remove backing paper. Show them that the opening is sticky.


2) Give them a pile of tissue paper pieces. Show them how to stick it to the contact paper.


3) Allow your child to put on as much or as little tissue paper as they wish. It doesn’t have to be all flat or completely stuck.


4) When they are finished, you can add glitter if you want. Assuming that you don’t want your entire house covered in glitter for all of eternity, I recommend that you apply the glitter or put it into a saltshaker for your toddler to shake on!


Adult Finishing Touches


When your child is finished, cover the tissue paper and glitter with the second piece of contact paper to hold everything in place and protect the masterpiece.


Hang the sun catcher in a window for all to admire!


I hope that you enjoy doing holiday crafts with your toddlers this year! Happy Holidays to everyone!

Head over to Nikki's Blog and let her know how much you enjoyed her project. Then come back to this post and let me know you did so. You can have 4 extra entries into Toddler Wonderland for doing so!

Labels: , , ,

Friday, November 26, 2010

Toddler Wonderland Tutorial ~ Schnitzel and Boo


Toddler Wonderland: Crafting a Christmas Ornament-and-Card Combo

By: Schnitzel & Boo


I have an almost-two-year-old daughter named Remy who loves to do anything creative: dance, scribble, hop, sing, wiggle, twirl etc. I was excited to try this project with her because this was the very first time that she had ever done anything like it. This was basically her very first art project. My mom did something similar with me and my sister when we were close to Remy’s age. Because this was our first time getting artsy-craftsy together, I enlisted my mom’s expertise. It was a lot of fun for all of us to recreate something that I did as a child.

For this project, we chose toddler-friendly crafting materials to help ease any frustrations that may arise. We wanted to keep the ornaments simple, yet engaging for the child-something to help encourage that proud feeling of accomplishment. We decided on chenille sticks, round rhinestones, multi-colored mini puff balls, snowflakes and sequins. You could also use buttons, scraps of felt or fabric, confetti, pieces of ribbon, beads etc., anything that you have in your craft supplies.


Gather your supplies, you will need:


-Pen
-Craft Foam or Felt
-Tablecloth, newspaper or a work mat to cover your crafting surface
-scissors
-glue
-blank folded cards
-tree template
-snowman template
-hole punch or Crop-O-Dile and eyelets
-double sided tape
-sequins, rhinestones, chenille sticks, buttons, puff balls etc for decorations


(OPTIONAL SUPPLIES)
-ruler
-magnets
-ribbon
-clear vinyl
-popsicle sticks
-felt scraps


Set up your supplies while your toddler is occupied with someone else or having a nap. This will help make sure that you have everything that you need and you won’t be running off in the middle of the project to grab the glue.


Trace your templates onto the back side of the craft foam and cut out before introducing your toddler to all the shiny, pretty things on the table. They’re like magpies and you’ll end up doing what I did: performing fancy save-the-flying-rhinestone maneuvers with a pair of sharp scissors and a half cut foam tree in your hands. Not exactly a smooth move on my part! (Cut the circle out of the tree to turn your ornament into a picture frame. Just glue a piece of clear vinyl to the back of the tree, add a picture and then attach a second tree to it.)


Punch a hole in the top of the tree and, if you’re using a Crop-O-Dile tool, set an eyelet in the hole for reinforcement. Hopefully, the grandparents will go bonkers over this super cute little work-of-art that your toddler is about to create and the tree (or snowman!) will hang proudly on the Christmas tree for years to come! Tie a ribbon through the eyelet and you’re ready to start!


Have your child decorate her tree or snowman with the decorations you have set out. I put a variety of decorations in my hand and let Remy choose which ones she wanted to use. It was easier for her to pick them up from my hand than it was to try and pick them up from the table.


Allow your child to put her decorations wherever she wants them on her tree. It is so much fun for them and for you to see their creations come to life. They don’t care if the sequins are all on top of each other, or if a rhinestone is upside down! They are using their imagination and creating an endearing keepsake.


Have your toddler decorate as many trees and snowmen as they’d like!


When you’re all done, glue all of the pieces down and admire your Toddler Picasso’s work!


Attach the ornament to the front of a blank card for a card-and-gift in one! Her grandparents, aunts and uncles, family friends and neighbors are going to love it!


Thank you to much to Kristi for this wonderful and creative guest post!


Make sure you check out her sites for more goodies! If you leave her a kind comment - come back to this post and let me know you did. You can then have 4 extra entries into the giveaway of your choice!!


Labels: , , ,

Wednesday, November 24, 2010

Toddler Wonderland Tutorial ~ Santa Hat


So excited to have Michell back with another fantastic tutorial! If you aren't already following her blog - trust me, you are missing out! After you read her tutorial if you head over to her blog and leave some comment love Family and Life in Las Vegas Style - you can have 4 extra entries into the giveaway of your choice!


Girl In Air


Isn't this Santa Hat the CUTEST??


Let's Make one!!


Materials
Size I/5.5 mm crochet hook
Your Favorite RED 4 ply yarn
Your Favorite White Fur
Tapestry Needle for attaching the pom pom

Here are instructions for this Santa Hat Newborn to Adult Sizes:


Chain 3, Join.
Round 1: Work 6 SC through the chain. (6 SC total) Mark the first stitch with a yarn marker. Do not join.
Round 2-3: The first single crochet will be worked right in the top of the previous single crochet, working the cap in a continual round. Work 1 SC through each stitch. (6 SC total)
Round 4: Work 2 SC in each stitch. (12 SC total)
Round 5-9: Work 1 SC in each stitch around. (12 SC total)
Round 10: *Work 1 SC in each of the next 2 Stitches, work 2 SC in the next stitch. Continue around from *. (16 SC total)
Round 11: *Work 1 SC in each stitch around. (16 SC total)
Round 12: *Work 1 SC in each of the next 3 stitches, work 2 SC in the next stitch. Continue around from *. (20 SC total)
Round 13: work 1 SC in ea SC around. (20 SC total)
Round 14: *Work 1 SC in each of the next 4 stitches, work 2 SC in the next stitch. Continue around from *. (24 SC total)
Round 15-16: work 1 SC in ea SC around. (24 SC total)
Round 17: *Work 1 SC in each of the next 2 stitches, work 2 SC in the next stitch. Continue around from *. (32 SC total)
Round 18-21: work 1 SC in ea SC around. (32 SC total)
Round 22: *Work 1 SC in each of the next 3 stitches, work 2 SC in the next stitch. Continue around from *. (40 SC total)
Round 23: work 1 SC in ea SC around. (40 SC total)
This is the first place that you can stop increasing and continue on for the length of the cap. The will fit a newborn size head 12"-13" inches.
Round 24: *Work 1 SC in each of the next 4 stitches, work 2 SC in the next stitch. Continue around from *. (48 SC total)
Round 25-27: work 1 SC in ea SC around. (48 SC total)
This is another place that you can stop increasing and continue on for the length of the cap. This will fit a toddler size head 16"inches.
Round 28: *Work 1 SC in each of the next 4 stitches, work 2 SC in the next stitch. Continue around from *. (58 SC total)
Round 29-32: work 1 SC in ea SC around. (58 SC total)
This is another place that you can stop increasing and continue on for the length of the cap. This will fit a child size head 18" inches.
Round 33: *Work 1 SC in each of the next 5 stitches, work 2 SC in the next stitch. Continue around from *. (66 SC total)
Round 34-43: work 1 SC in ea SC around. (66 SC total)
Continue for the length of the cap. This will fit an adult size head 22"-24".

To end, skip 1 stitch, slip stitch in the next stitch. Cut the yarn and pull the tail through.

Edging
Round 1: Work a round of single crochet with white fur around. Join with the beginning stitch
Round 2: Work 1 double crochet in each single crochet around. Join with the beginning stitch.
Round 3: Work 1 single crochet in each stitch around. Join with the beginning stitch.

Pom-Pom
There are a million ways to make a pom-pom. Just search YouTube and you will see what I mean....
Here is my favorite simple way
1. Wrap yarn around 2 or 3 fingers about 50 times.
2. Slip off fingers and tie a tight knot around middle.
3. Cut loops, trim and fluff
Use yarn needle to attach pom-pom to hat.


Head over to Girl In Air and tell her how awesome this tutorial is! If you tell me that you left a comment on her blog - you can have 4 extra entries!

Labels: , , ,

Monday, November 22, 2010

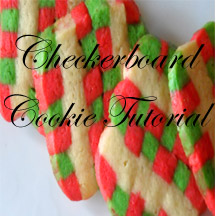
Toddler Wonderland Tutorial ~ Christmas Checkerboard Cookies


I am a huge fan of Trisha's Blog 3 Under 4 and her etsy shop!


Lucky for you, she is back with another fantastic tutorial, and the best part about this tutorial is not only does it look good, but it tastes great too!

Don't forget to leave some comment love on 3 Under 4 after reading this tutorial. If you do, you can have 4 extra entries into the giveaway of your choice.

I have seen Checkerboard Cookies before, but I wanted to change them up a little bit.


I wanted to try three colors and a different pattern


Cookie Tutorial copy


Vanilla Shortbread


1 1/2 sticks of butter softened


1/3 cup granulated sugar


1 tablespoon pure vanilla extract


1 large egg yolk


1 1/2 cups all purpose flour


Directions:


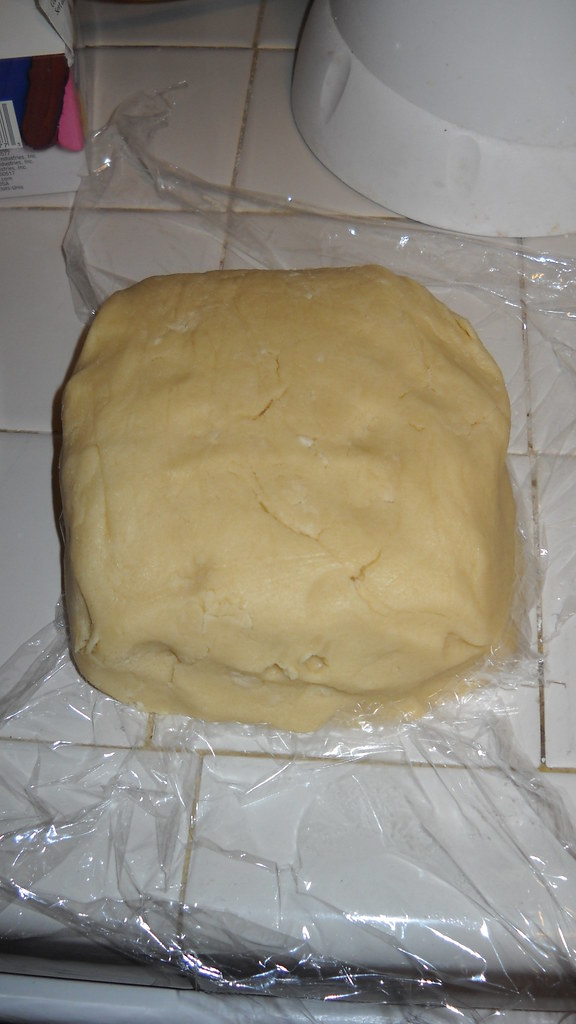
Cream the butter and sugar. Next add the vanilla extract and egg yolk until combined. Add flour a little at a time until all combined. Shape into a disk/ball shape and wrap in plastic wrap. Chill in the refrigerator for at least 1 hour. After chilled removed from the refrigerator


001 - Copy (3)004 - Copy (2)
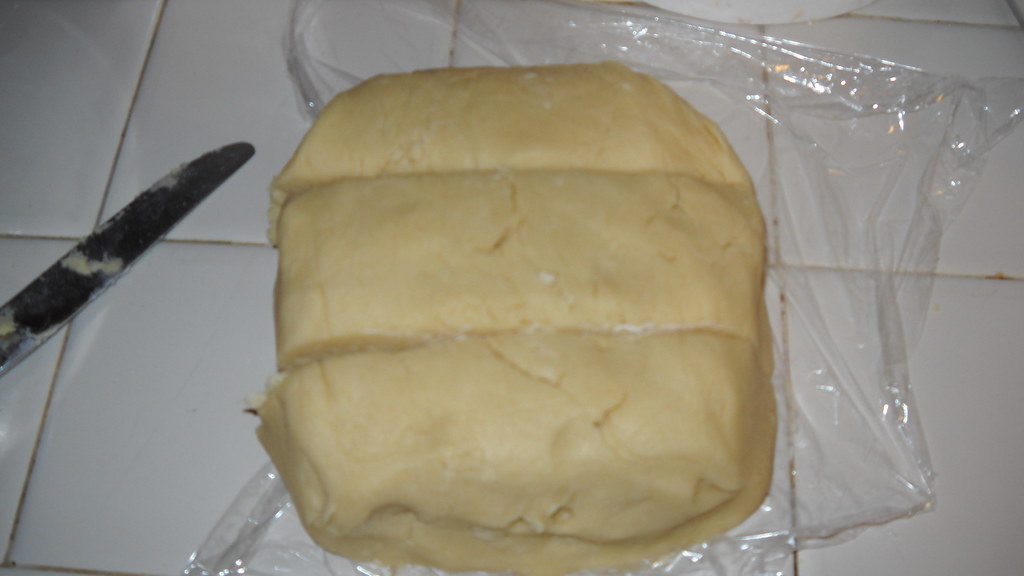
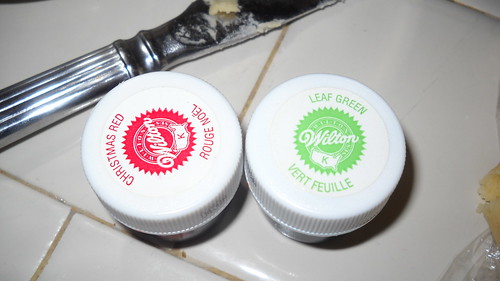
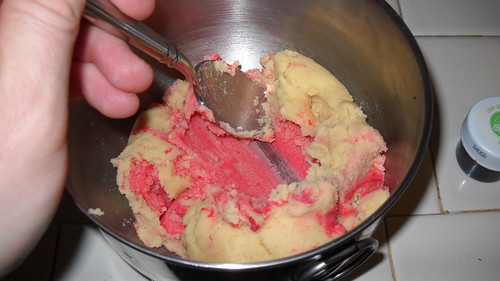
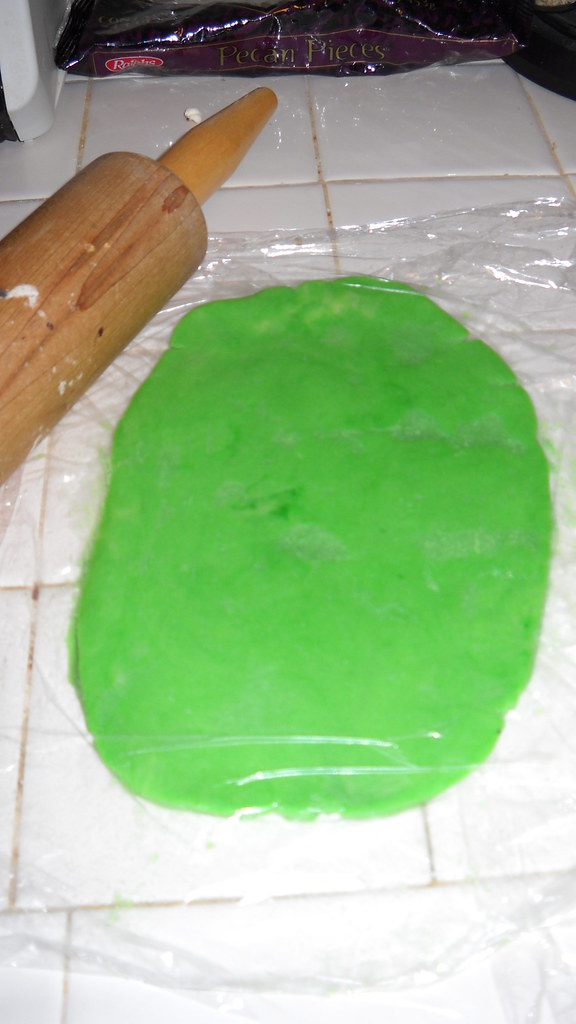
Next, use food coloring to dye the dough. I use Wilton gel food coloring
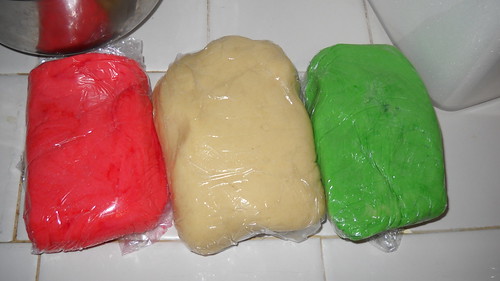
006 - Copy (2)008 - Copy (2)009 - Copy (2)
I wrapped my three different colors of dough back in the plastic wrap and chilled them in the refrigerator again for about 1 hour. Next, roll out the dough using a rolling pin into a rectangle shape. I like to put the dough in between two pieces of plastic wrap to roll out dough. That way you don't need any flour all over your counter. I like less clean up at the end!
010 - Copy (2)


They will all look somewhat like this011 - Copy (2)
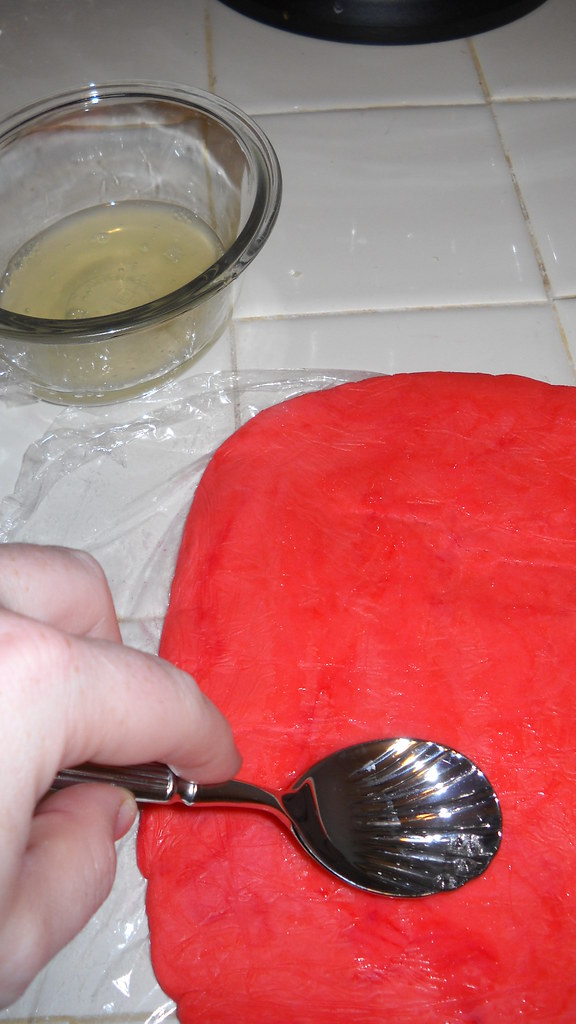
Next, you are going to be layering the three colors on top of each other. Brush the first piece of dough (red) with a little bit of egg whites. We use egg whites as glue to keep the three layers together. (I do not have a brush, so you will notice in the picture that I am using the back of a spoon to put the egg whites on the dough)


012 - Copy (2)
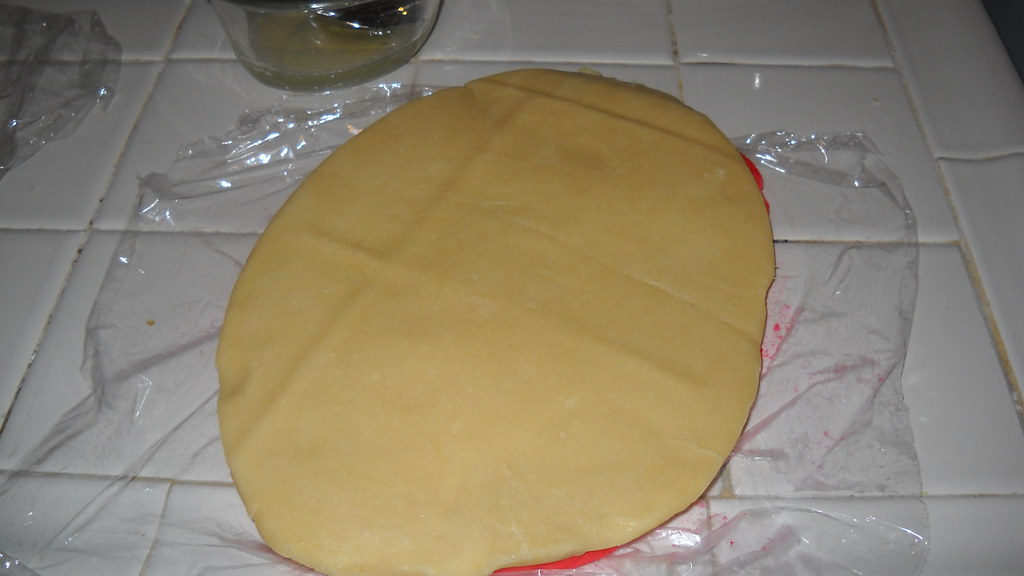
Then, place the second color (white) on top of the first
013 - Copy (2)
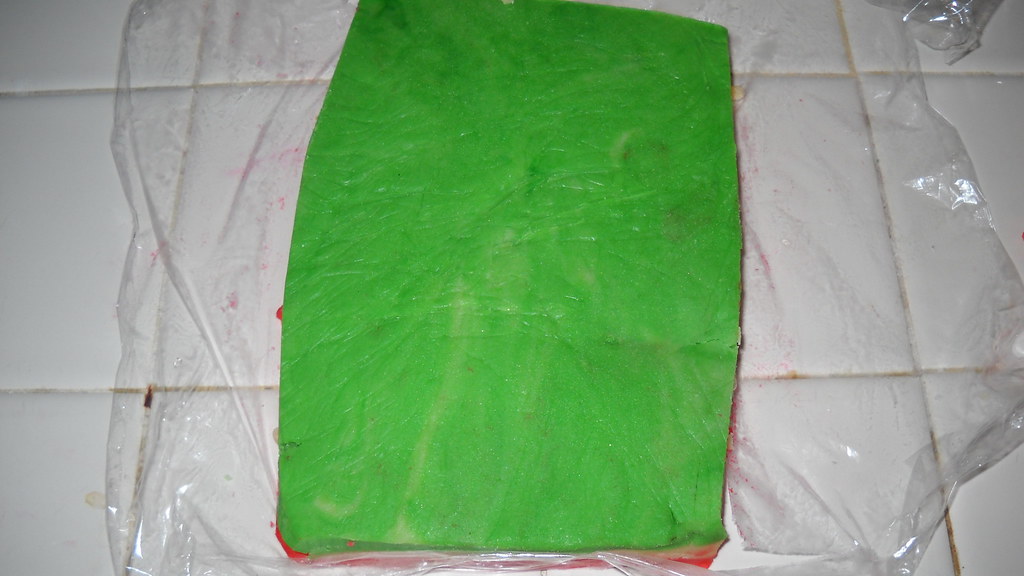
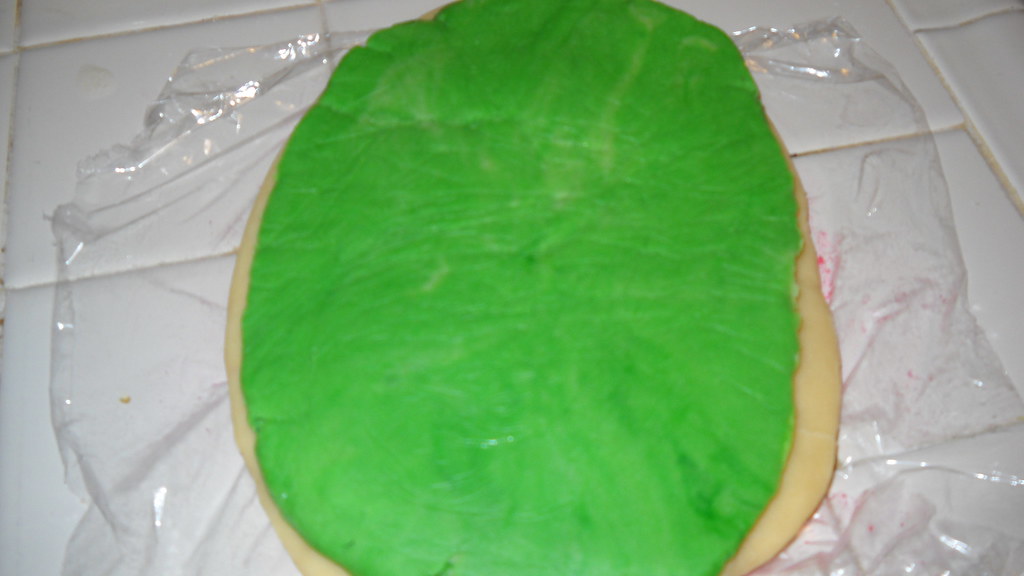
Brush the white dough with the egg whites and place the third color (green in this case) on top


014 - Copy (2)

024
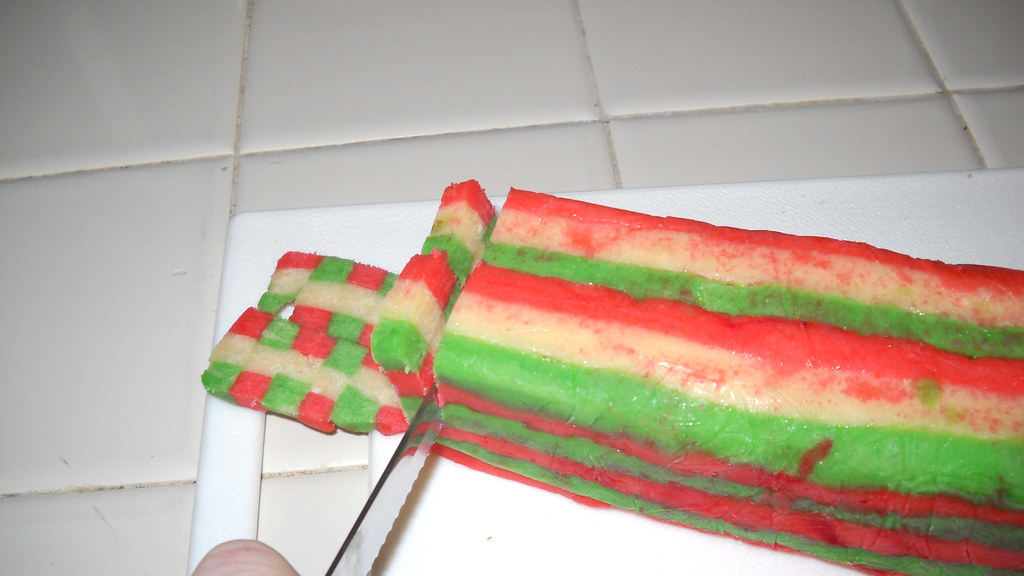
Take a sharp knife and cut the dough into 1/4 inch thick strips. You may want to use a ruler at this point, so that each slice is exactly the same.
028 - Copy
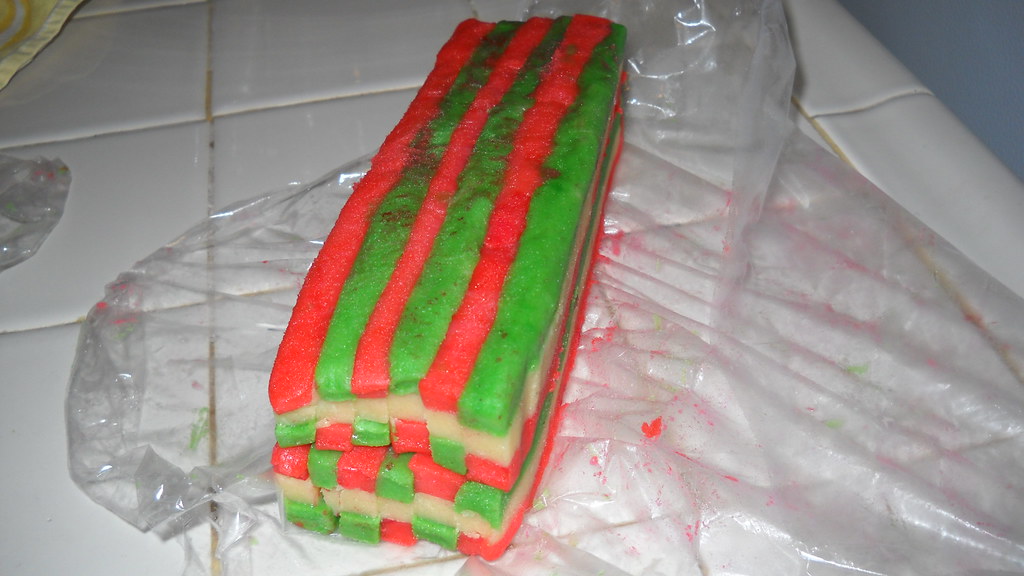
Alternate the strips in the design that you want. I alternated red/green on the top. Mine looks like this


Wrap back up with the plastic wrap and chill for another hour. Take the dough out of the refrigerator and trim the edges so that you have a rectangle


029 - Copy
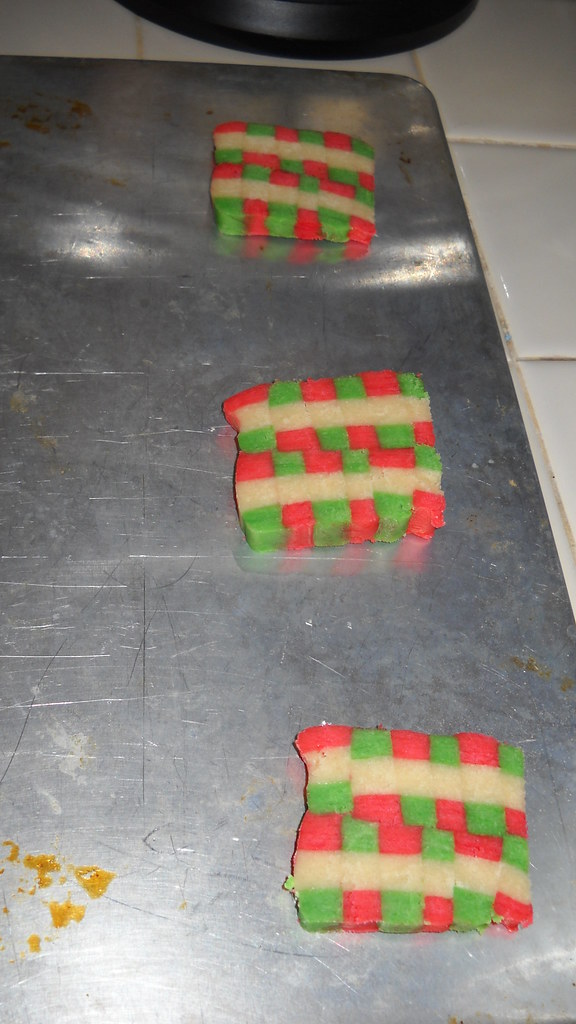
Wrap it up in the plastic wrap again and chill for another hour. Remove from the refrigerator and slice into cookies.
.
032
Place on a cookie sheet and place into a preheated 350 degree oven for approximately 10 minutes.


033
Take the cookies out of the oven before they have browned. The should not have any brown on them. Cooking time may vary depending on your oven. Please watch the cookies.

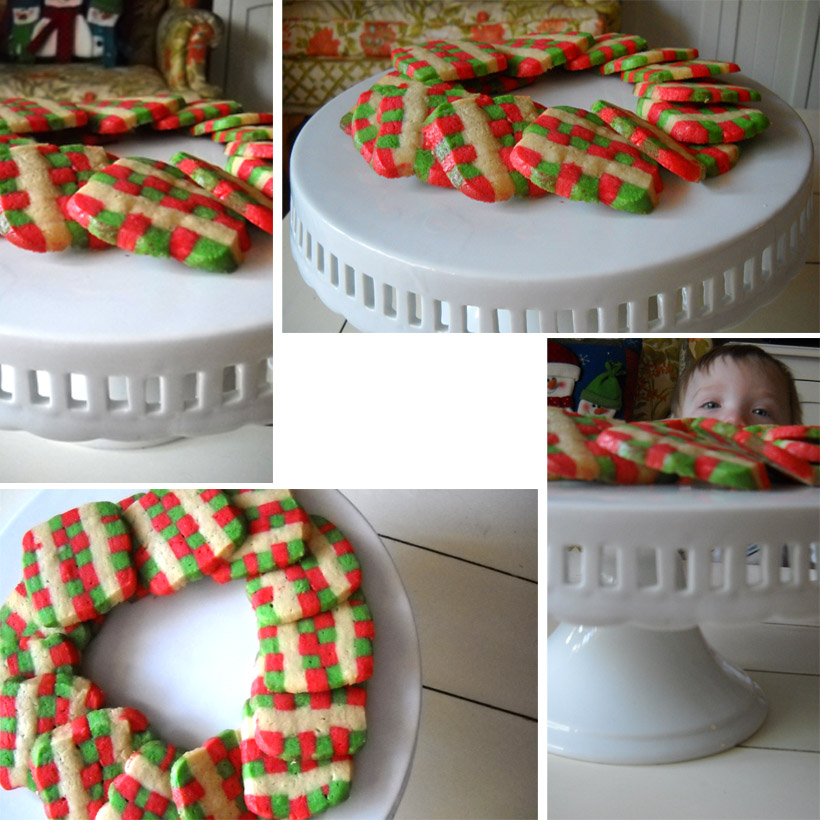
And they will look something like this! Very festive and colorful! You can use any colors you want for any holiday, school colors or team colors!
Christmas Cookie
And as you can see....I had a little one that thought they looked yummy!


I hope you enjoy this recipe, they take a few hours of time, but they are impressive and everyone loves them!

Thanks Trisha!

Labels: , ,